Monday, 30 July 2018

Printing On Wood

PRINTING ON WOOD

How to Print Pictures on Wood

1. Cut a few sheets of wax paper to the size of a standard piece of printer paper

2. Find a smooth, light coloured piece of wood. Actually find a few so you have some to practice on.
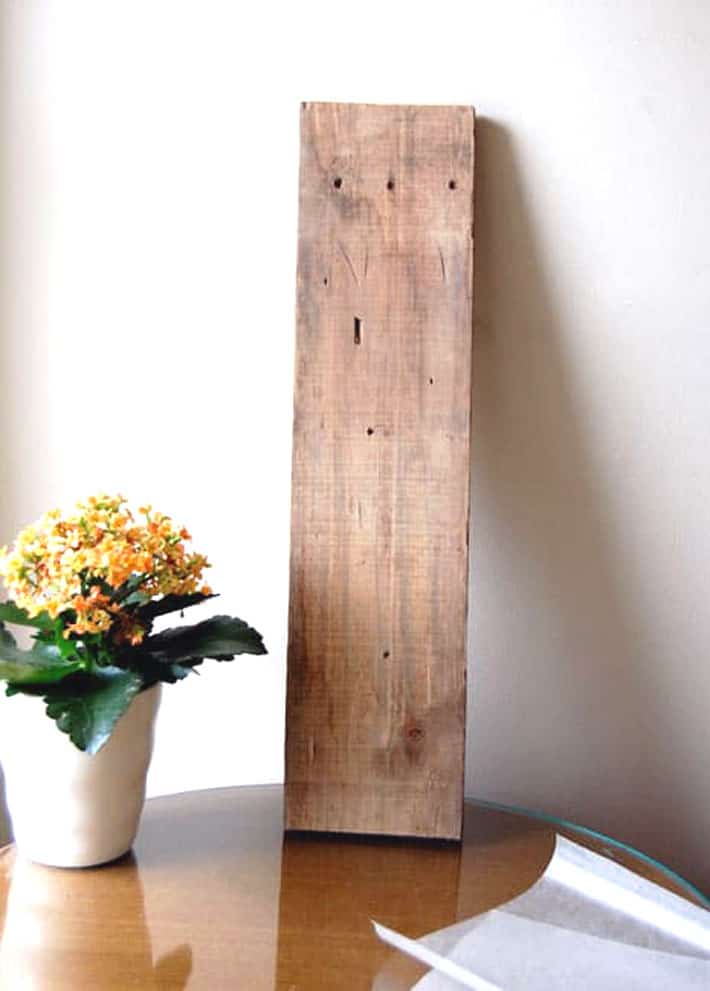
Raw wood ready for printing propped against a white wall.

Find a high resolution image you like. Or make your own. The Graphics Fairy is a great place to start for copyright free, high resolution images.
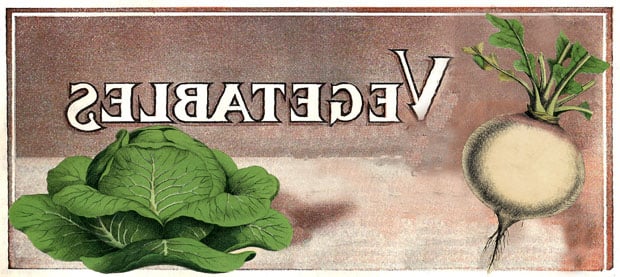

3. Once you have an image you like, reverse it using whatever photo program you have on your computer.  If you’re not sure how to do that just Google it.
4. Put a sheet of your waxed paper into the printer and click print.
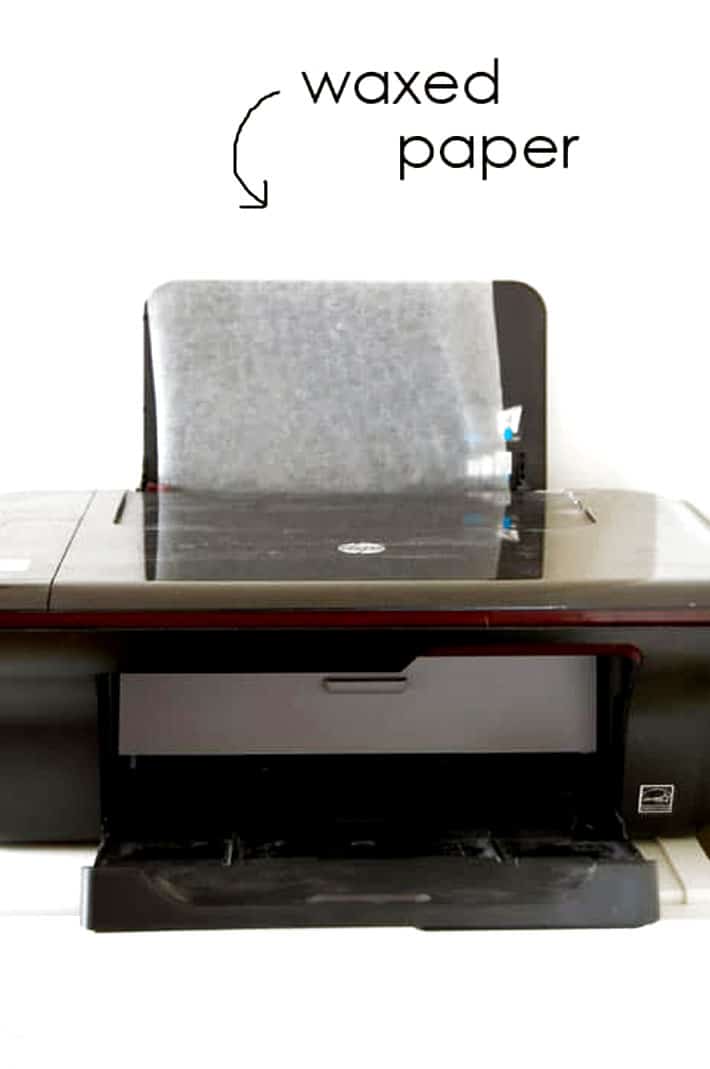
Inkjet printer with wax paper fed into it.5. As the waxed paper comes out of the printer, gently guide it. You have to be careful it doesn’t roll under itself or touch itself in any other way because it will smear the ink.
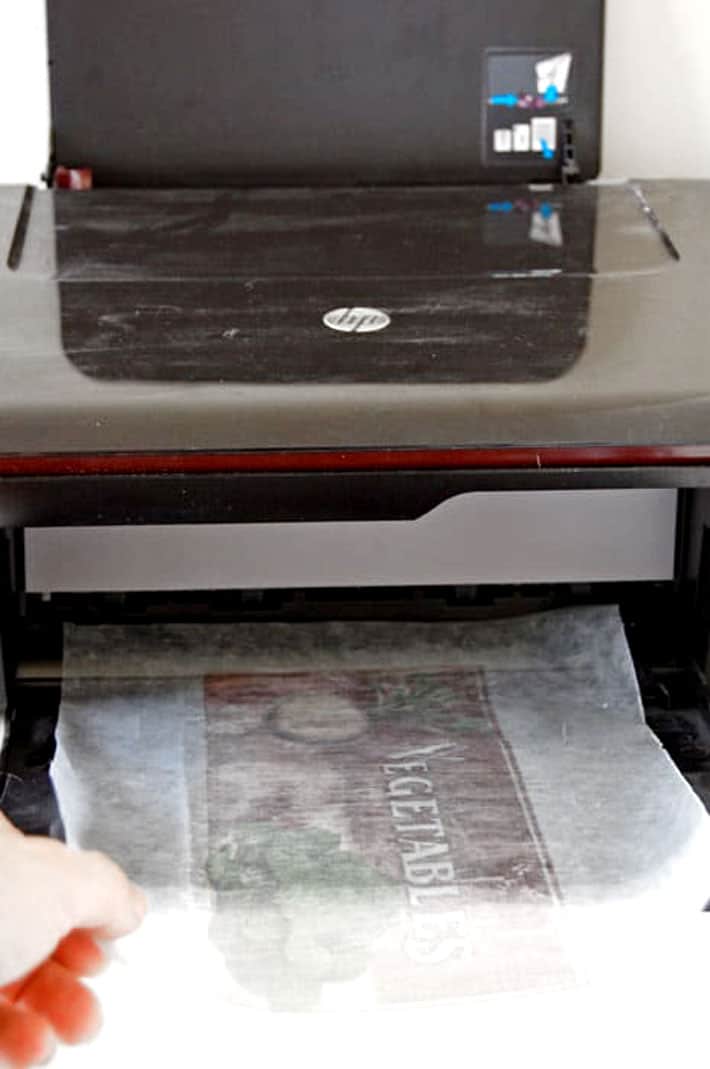
Printed wax paper coming out of inkjet printer.

6. Put your image exactly where you want it on the wood. Remember … this can be any unfinished wood. A bench, table, box, or anything!
Once you place your image you can’t move it.  Do not move it.  It will smudge. You will be sad.  Then you will cry and it will smudge some more.
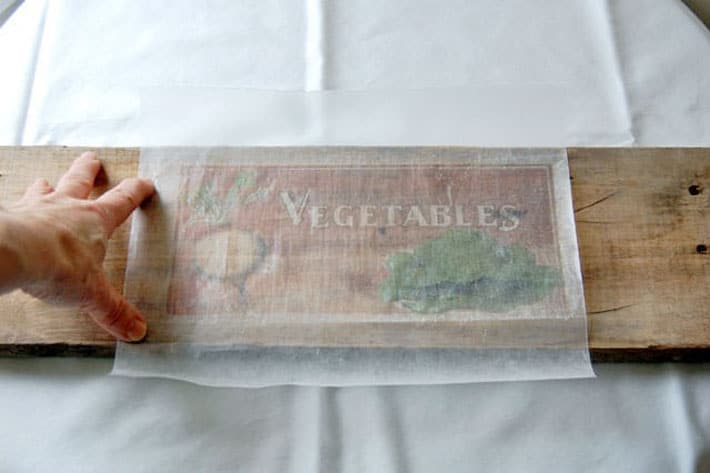
Laying printed wax paper on piece of unfinished wood.

7. Holding the transfer tight to the wood, and working quickly, swipe the edge of a credit card across the image. This pushes the ink from the waxed paper down into the wood, which absorbs it.
Don’t be wimpy about this.  Push hard, but not so hard that you rip the waxed paper.  You can gently lift the paper to see if it’s transferring well.  If you notice spots that haven’t transferred, rub it some more with the credit card, this time burnishing it.
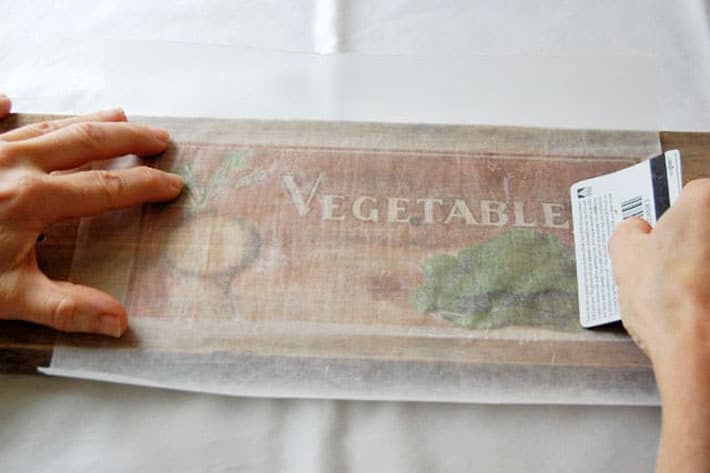
Running credit card over wax paper to rub ink into wood.

8. When you’re pretty sure that you’ve transferred as much ink as possible lift off your waxed paper and get ready to call someone. Because that’s the first thing you’re going to want to do because this method works so well.
You’ll be stunned.
You’ll naturally want other people to be stunned. It’s a DIYer thing.
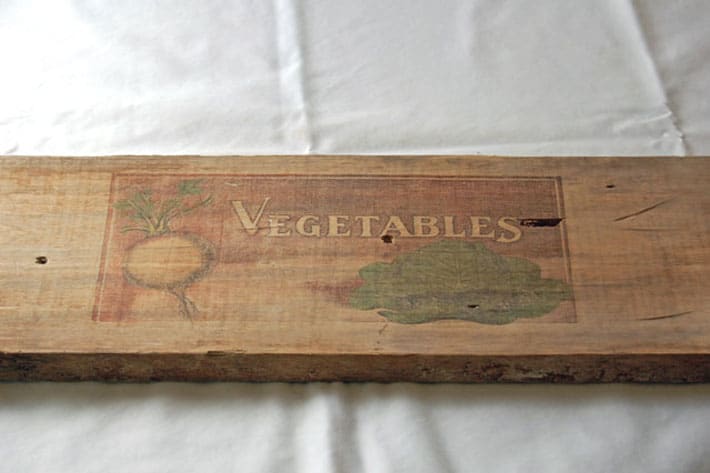
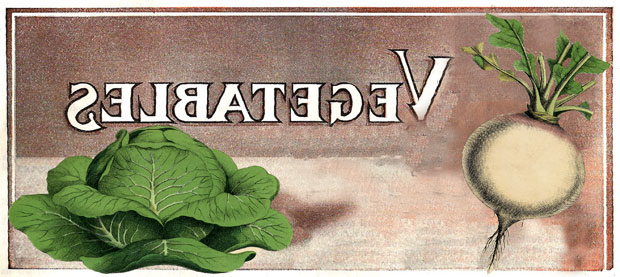
Raw wood with perfect image of the word Vegetables and primitive images of a turnip and cabbage.
I tried a few images just because it was so fun.
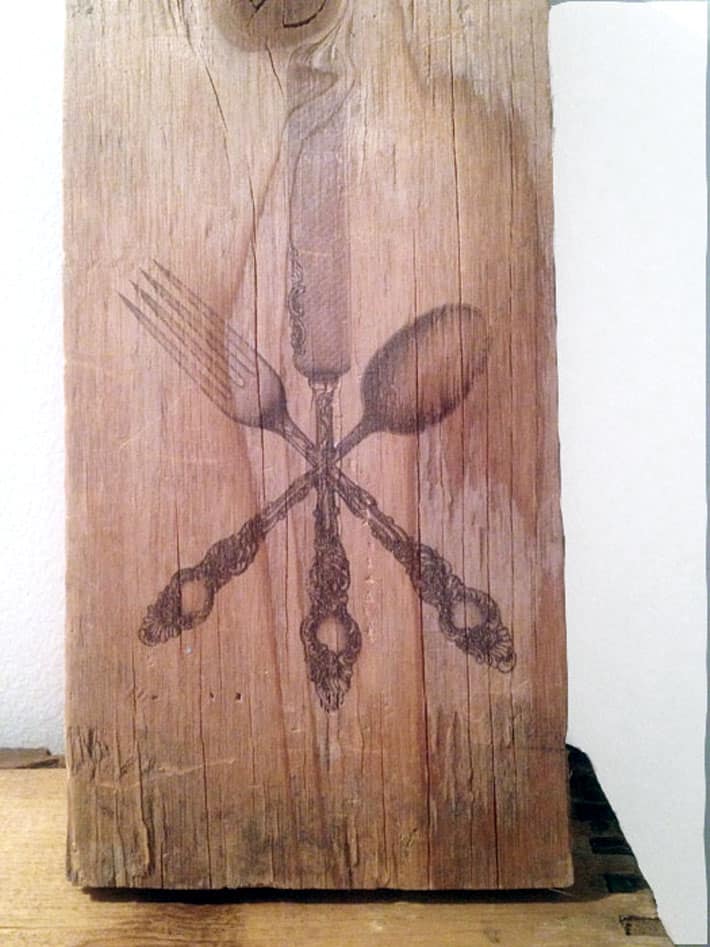
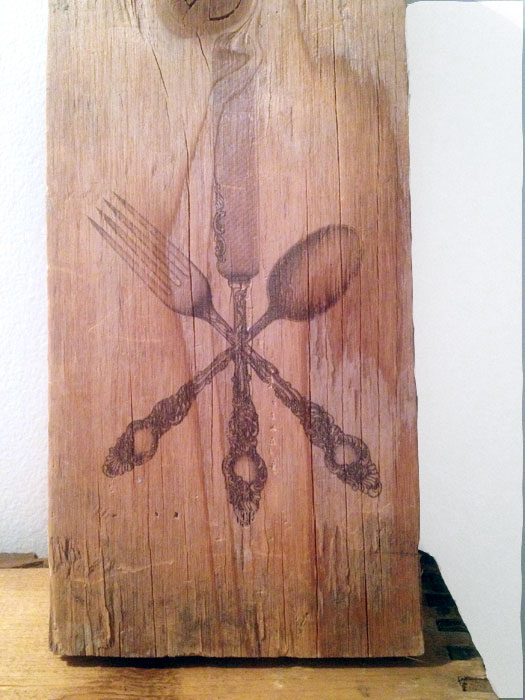
Very detailed image of cutlery on wood.

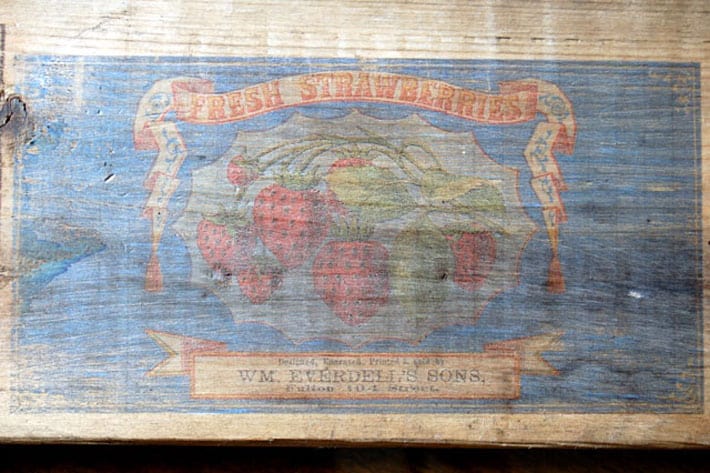
Like I said earlier you can use this technique on any smooth, unfinished wood like old crates, tables, or chairs. For anything that’s going to have wear and tear, just remember to spray it with a a clear matte finish after you do the print. Any wood sealer will protect it.
If you don’t have a table, chair or dresser you want to print on, you can just find a nice old board and prop it against the wall, or hang it.
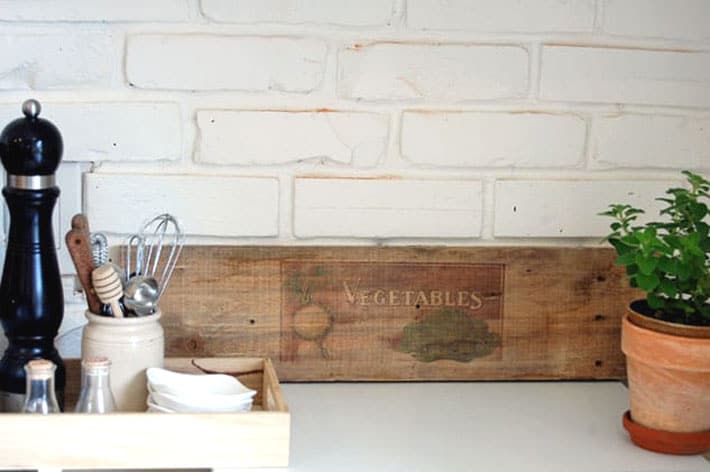
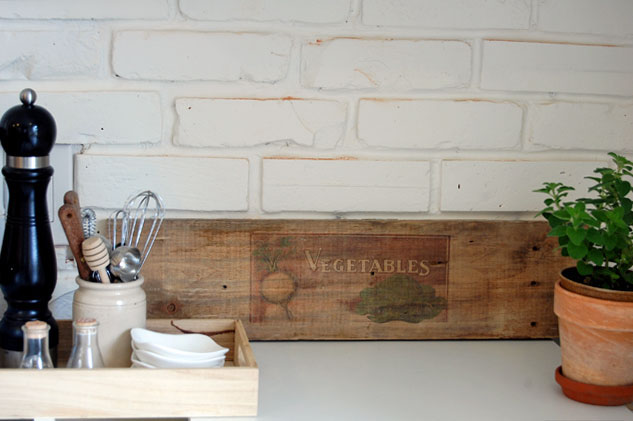
Raw wood with image of vegetables printed on it leaning against white brick wall in farmhouse kitchen.

Quick Reference Directions:
Waxed Paper Transfer
1. Cut sheets of waxed paper to the size of computer paper.
2.  Print your image onto the waxed paper with any Inkjet printer. (must reverse image first using whatever photo program you have) In answer to some of your comments, no, it doesn’t matter which side you print on. Both sides of waxed paper are waxed.
3.  Carefully place the image on your wood (wet side down) and then rub over it with a credit card.
4.  Removed waxed paper and the ink is now transferred to the wood.
5.  Seal with a matte spray wood sealer if you like.

TIPS
  • Use smooth wood.  Rough barn board won’t work, but smooth barn board will.
  • Darker colours on lighter wood works best.
  • Dampening the wood a bit with a sponge will make the transfer darker, but it might blur and smudge if you’re not extremely careful.
  • If the waxed paper won’t feed through your printer, tape it to a piece of regular printer paper before feeding it into your printer.
  • Some readers have also had success by using the slippery side of freezer paper so you can try that.
I made my piece of printed wood into a rustic planter.  Read how to make your own in this post. 
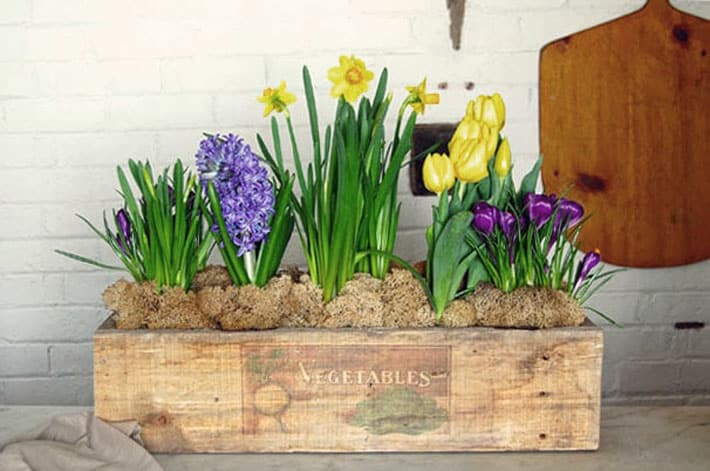
Rustic planter box with image of vegetables printed on the wood.
NOTE: ONLY USE INKJET PRINTERS, NOT LASER PRINTERS.

Mini Notebooks

MINI NOTEBOOKS


Materials: 
• Cereal box (1 cereal box makes 2 notebooks. You can also use cardboard, cardstock or gift boxes)
• Paper for the inside pages (I used 20 pieces of 8.5" x 11" computer paper, but you can also use lined or graph paper)
• A piece of decorative paper (to cover the spine)
• Scissors 
• Ruler
• Pen
• Glue stick, tape runner or double-sided tape
• Needle and embroidery floss 
• Button

 Steps: 
  1. • Cut out the cereal box to create the cover for your notebook. I cut a 5.5" x 8" piece for mine, but you can make it as small or large as you wish.
  2. • Fold it in half so that the blank side is facing out. 
  3. • Run embroidery floss through the needle and sew on the button to the front of the notebook. Leave about 20" of the thread hanging. This will be used to wrap around the notebook to close.
  4. • To cover the images of the cereal box, apply glue or tape to the inside of the notebook (make sure you get the corners!) and place a piece of paper on top to attach. Cut around the edges to remove any excess paper.
  5. • Grab your paper for the inside pages and trim them down so they are slightly smaller than the notebook (about 1/4" shorter on all sides). 
  6. • With the needle and embroidery floss, stitch the paper to the notebook down the spine. 
  7. • Apply glue or tape to your decorative paper and attach it to the spine of the notebook. 
  8. • Optional: For a more finished look, cut rounded corners on all four edges of the notebook.


Monday, 7 May 2018

Shoe Hooks

Use coat hangers attached on the wall near the floor to keep your shoes off the ground.


Sunday, 28 January 2018

Photo on wood

How to transfer a photo onto wood 


First Attempt

This first video is more detailed than the second as I’m going through it from start to finish with very little edits.


 Enjoy this then read on…

As you’ll see the end result was left a bit hazy and white and as people have commented I agree it was due to me using the PVA glue at the end instead of a varnish.

Second Attempt


Well it’s 12 months on and we’ve just tried two projects onto two types of wood and got very different results. From the YouTube comments I planned to try coating the finished image with varnish rather than PVA so as you’ll see in the process below that’s the way to go.

So there it is and if you’ve watched with videos all the way through you’ll have seen the pitfalls as well as the things to do so now lets look at the process in simple steps.

The Process

Step 1 – Get some wood


Before you sort your image, or maybe around the same time, you need to know what wood you are transferring the photo to as it could change the size and format of your image. Some guys on the youtube channel have suggested applying an image to their guitars or a piece of furniture but if you’re just starting out we had great success with a hardwood chopping board in the second video. Here’s a link to some cheap ones and the UK one even has a border! Amazon.co.uk / Amazon.com

If you’re going to a hardware store then look for a nice clean piece of wood thats plained and straight. You may need to cut it down but keep in mind the size of paper you’ll be printing on. In the UK it would be A4 ideally so your wood wants to be approx 210 by 297mm the same as the A4 print.

Step 2 – Prepare your photo


So you need to find a photo you like. Now if you have wood already and need to fit it to the size of that and hopefully it will be A4 or under else you’ll be paying more for your printing. (Of course you can go A3 if you like but I’d maybe start off smaller on your first project).

If your photo needs editing or flipping around I recommend Pixlr as an online app. I have given instructions on this process in the first video.

I do recommend reducing the saturation and ideally warming the image up so it looks more golden and will sit better on the wood. Bright, full colour images don’t look as good in my opinion.

Step 3 – Print your photo


Now this is the stage that causes most of the confusion and questions on my YouTube channel so I’ll go through it clearly. As I have a photo printer and I’m fussy I chose in both videos to print the photo I wanted to the correct size at home onto photo paper. I then took my photo to a printer like Staples and asked them to photocopy my photo on their laser photocopier just onto basic paper (ideally 80gms weight).

You can transfer from an inkjet printer (as seen here), but the results are far better from a laser copier / laser printer.

Step 4 – Get everything ready


What do I mean? Well as you can see from the videos you need to lightly sand over the wood with fine sand paper. You will need some Gel Medium or Mod Podge (links below) so get that ordered in. You want to apply with something like a credit card or loyalty card so have that ready, and have some cloth or towel available to clear up your excess gel.

Step 5 – Apply the photo to the wood


Now we’re getting started!

Get that Gel Medium out and apply it liberally but not too thick (you’ll see it in the videos). Place your photo down on the wood and wipe your card over it to get a nice smooth finish.

Step 6 – Walk away


Yep, you need to leave that baby overnight, stop your fiddling and go do something else.

Step 7 – Time to start rubbing… and rubbing… and rubbing


Yes this is the part we flew over in the second video as it can get a tad boring. Grab a jug of water (warm or cold) and a sponge / cloth. Lightly soak the paper while very gently rubbing the paper. It’s so important as we’ve spelt out on the videos to be gentle, not rubbing too hard and being patient. As you’ll see we stopped when it looked most of the way there, let it dry and then came back and rubbed a little more.

What we discovered in the second video that I didn’t fully realise in the first is that you can’t get it all. As long as when it’s wet it looks good then that’s the time to call it a day and let it dry. You’ll see this demonstrated in the second video.

Step 8 – Seal the image


We used an aerosol wood oil for this as it’s the best we could find in the hardware store (B&Q). If we’d have been in a craft store I’m sure there would have been more appropriate products but the idea is that we’re sealing in the photo with a nice gloss finish to take away the residue of the paper. As you’ll see at the end of the second video it worked a treat!

That’s it!

Source: SLRCoaching